Tech Documents
How to Generate Certificate Signing Request on Outlook Web Access


This article will go into detail on how to generate certificate signing request on Outlook Web Access
September 25, 2018
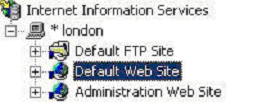
- Using the Internet Services Manager.
- Right click on the website that is hosting your OWA component (this is by default the "Default Web Site") and open its properties.
- Select the "Directory Security" tab and then click on "Server Certificates". The "Web Server Certificates Wizard" will now be displayed, click Next.
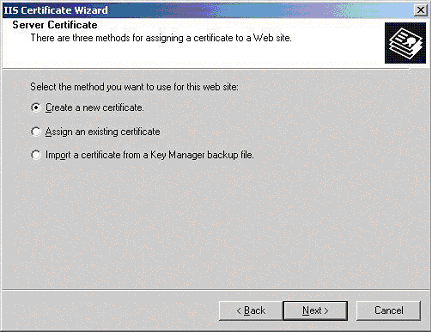
- On the "Server Certificate" dialogue box (below), we are going to select "Create a new certificate", click Next.
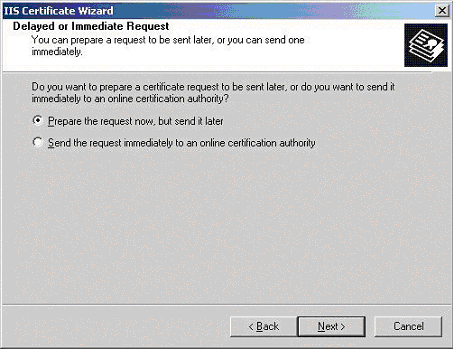
- In the "Delayed or Immediate Request" dialogue box (below) select "Prepare the request now, but send it later", click Next.
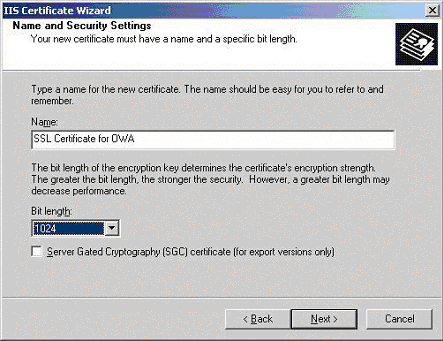
- Next you are presented with the "Name and Security Settings" dialogue box (below). Give your new certificate a name and also select the level of security you would like to use (it is not recommended that you go over 1024 as this will have an adverse effect on your server performance), click Next.
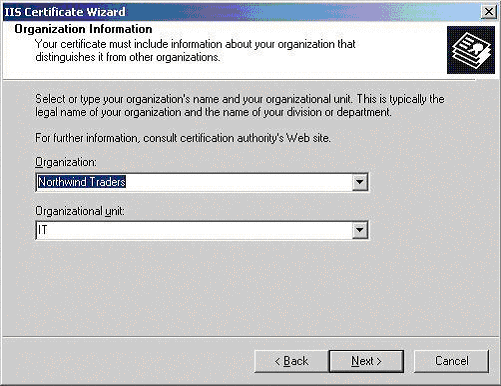
- In the "Organisation Information" dialogue box (below), enter the name of your organisation. This should be as you want it to appear on any legal documents as this is the name that will appear in your certificate. The organisational unit can be a location, department or business unit within your company.
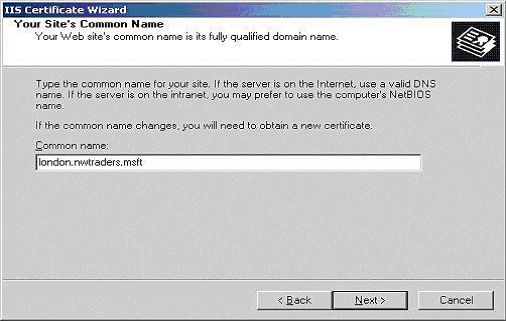
- In the "Common Name" dialogue box (below), you must enter the FQDN of our web server.
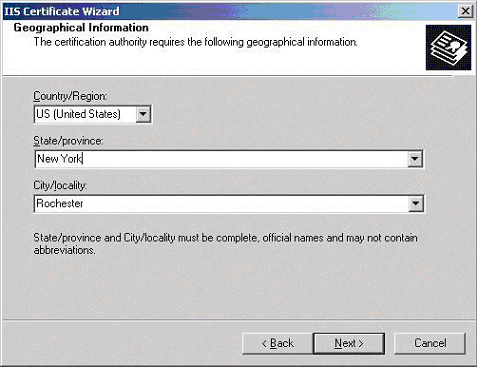
- You are now presented with the "Geographical Information" dialogue box (below). It is important to make sure you enter the State in full, for example "New York" not just "NY". Abbreviating State names will be rejected at the end of the Certificate Wizard.
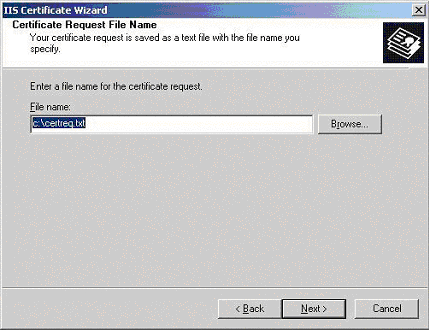
- The last step is to specify the location of the Certificate Request File, remember where and what you called this as you will need it later.
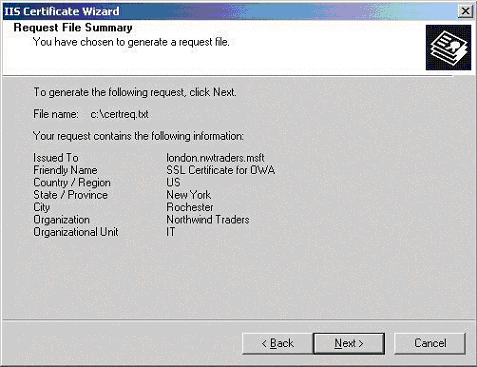
- The "Request File Summary" will now appear (below). Make sure everything is OK and then click Next to process the request.
You have now created a "Certificate Signing Request" which will be needed when you apply for your certificate.
To save your private key:
- Go to: Certificates snap in the MMC
- Select Requests
- Select All tasks
- Select Export
We recommend that you make a note of your password and backup your key as these are known only to you, so if you loose them we can't help! A floppy diskette or other removable media is recommended for your backup files.